
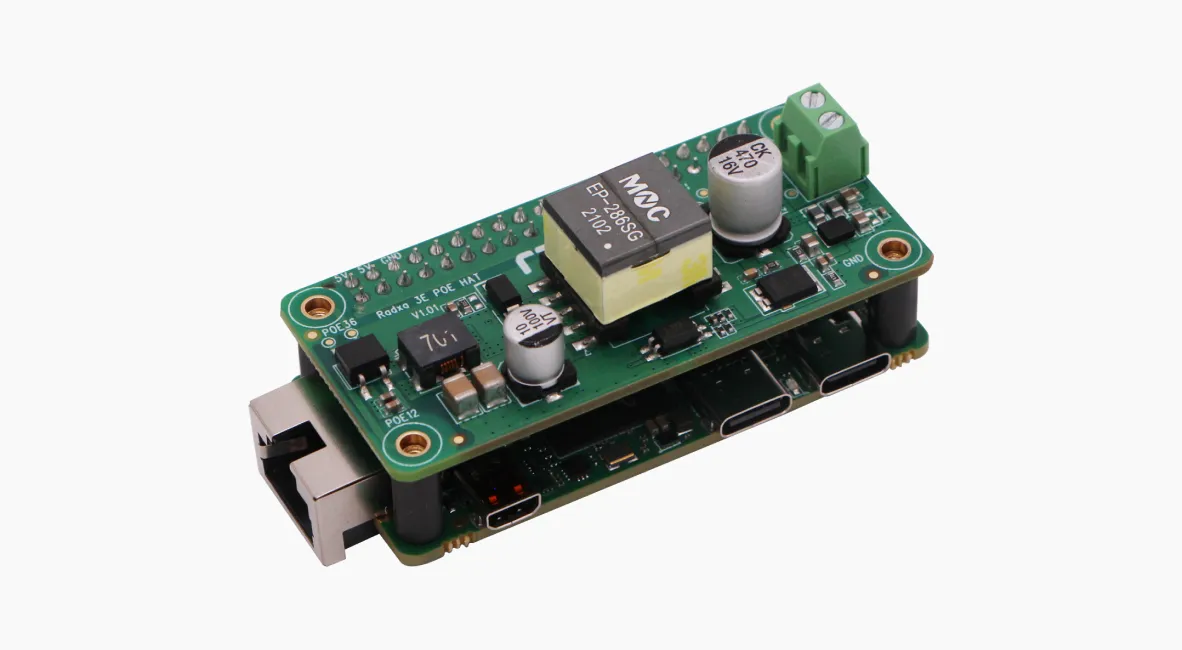
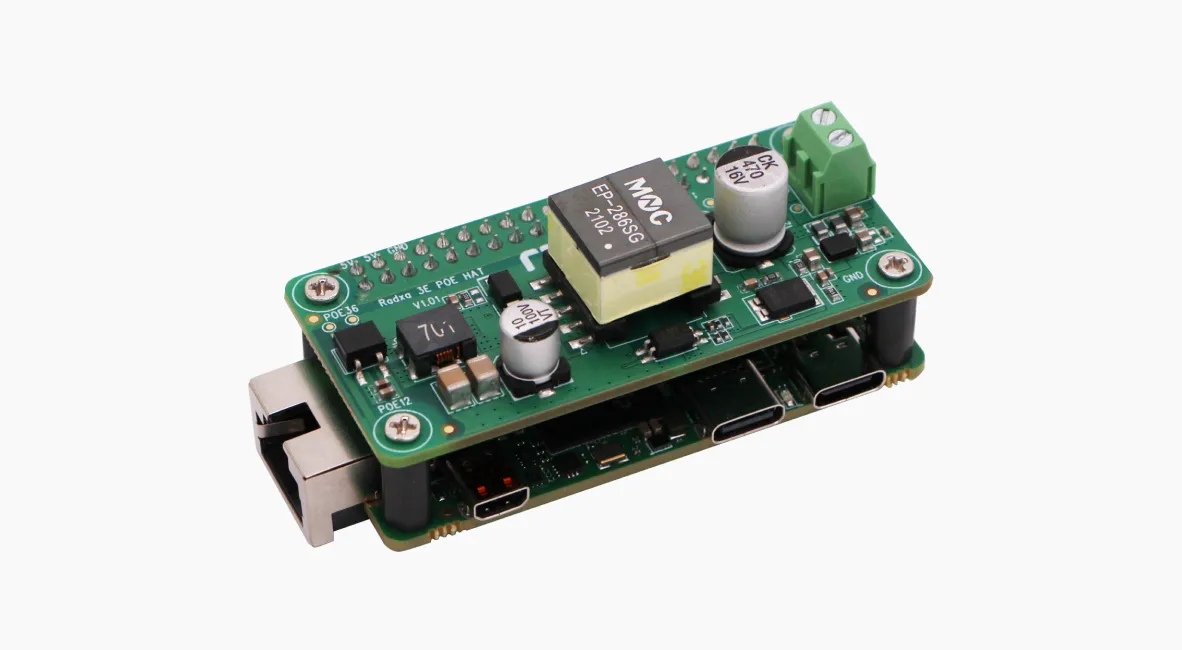
Designed for Radxa ZERO 3E
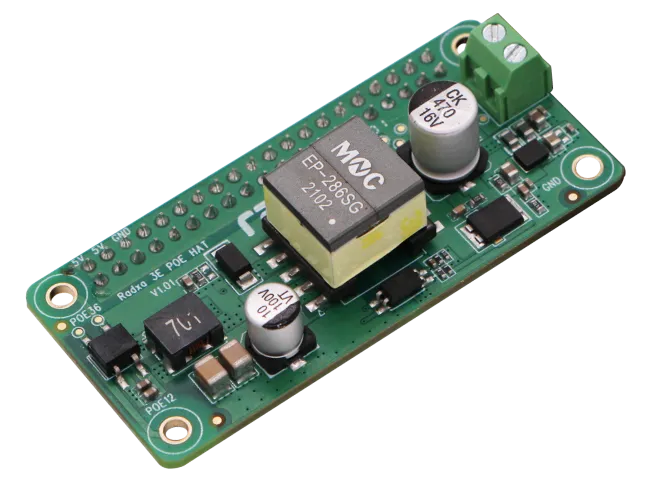
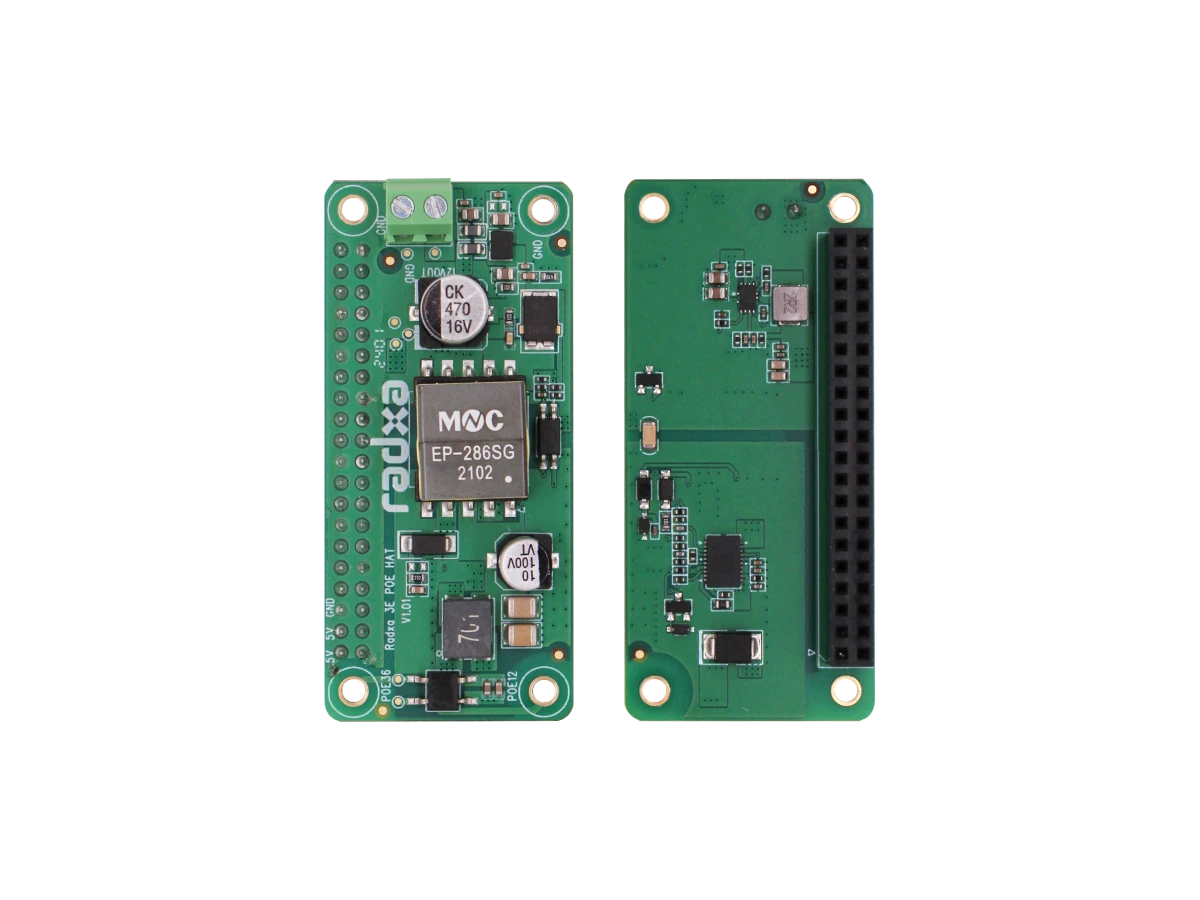
Designed for Radxa ZERO 3E
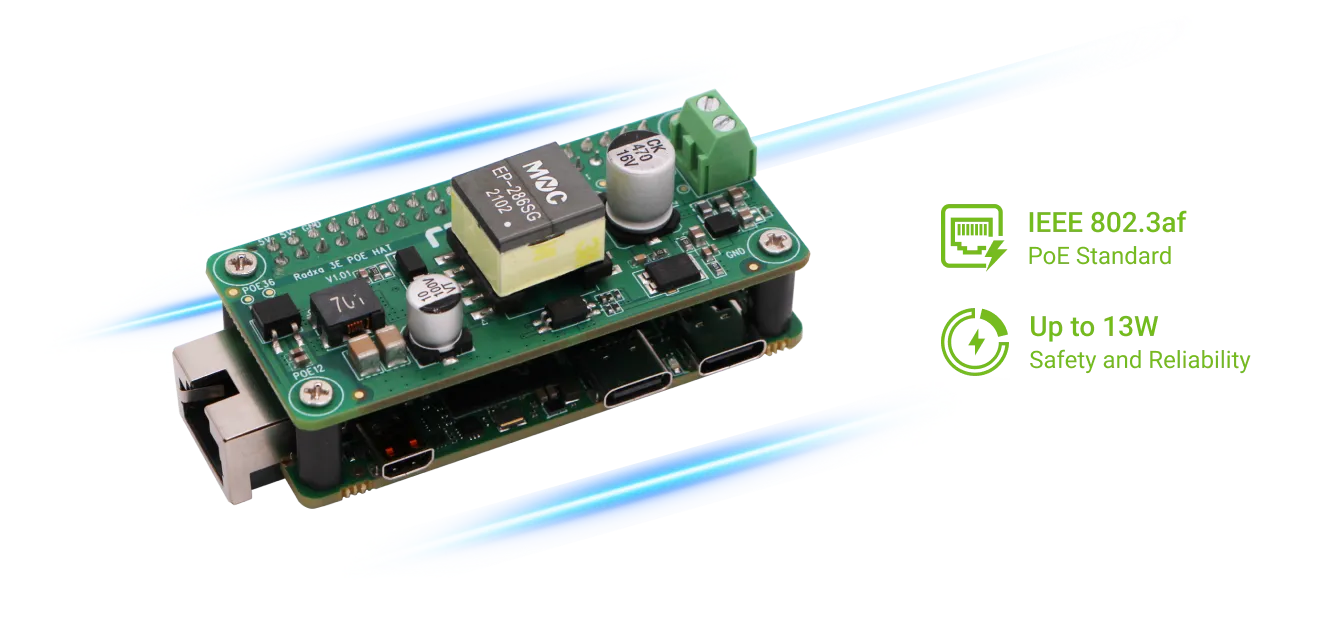
Compliant with IEEE 802.3af/at Standards
Significantly streamlines the complexity of network cabling and power management.
Usage Steps

First, remove four CM2.5×4×4 screws from the Radxa ZERO 3E PoE HAT.
Then, align the Radxa ZERO 3E PoE HAT with the 40-Pin GPIO Header of Radxa ZERO and then install it.
Then, from the back of Radxa ZERO, use four CM2.5×4×4 screws to fix Radxa ZERO and Radxa ZERO 3E PoE HAT.

Finally, plug the Ethernet cable into the port (requires PoE support from the switch/router at the other end of the cable).
Note:The implementation of PoE functionality on Radxa ZERO 3E involves screws and copper pillars,
which need to be securely fastened. Without installing the copper pillars and screws, the PoE
functionality cannot be utilized.
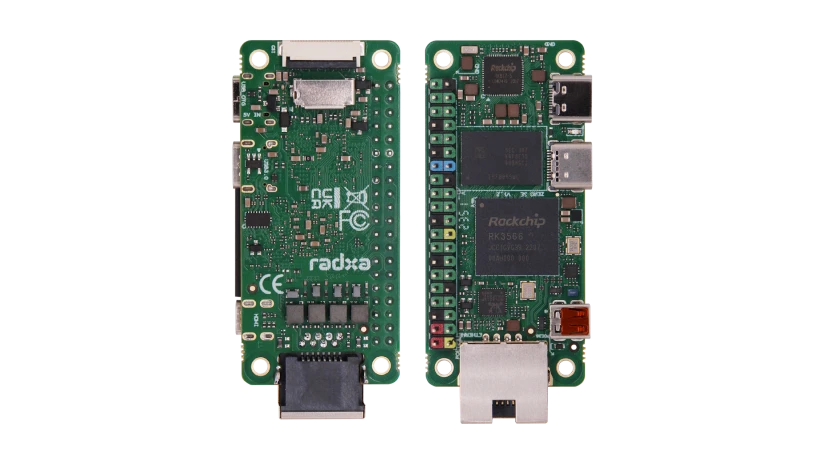
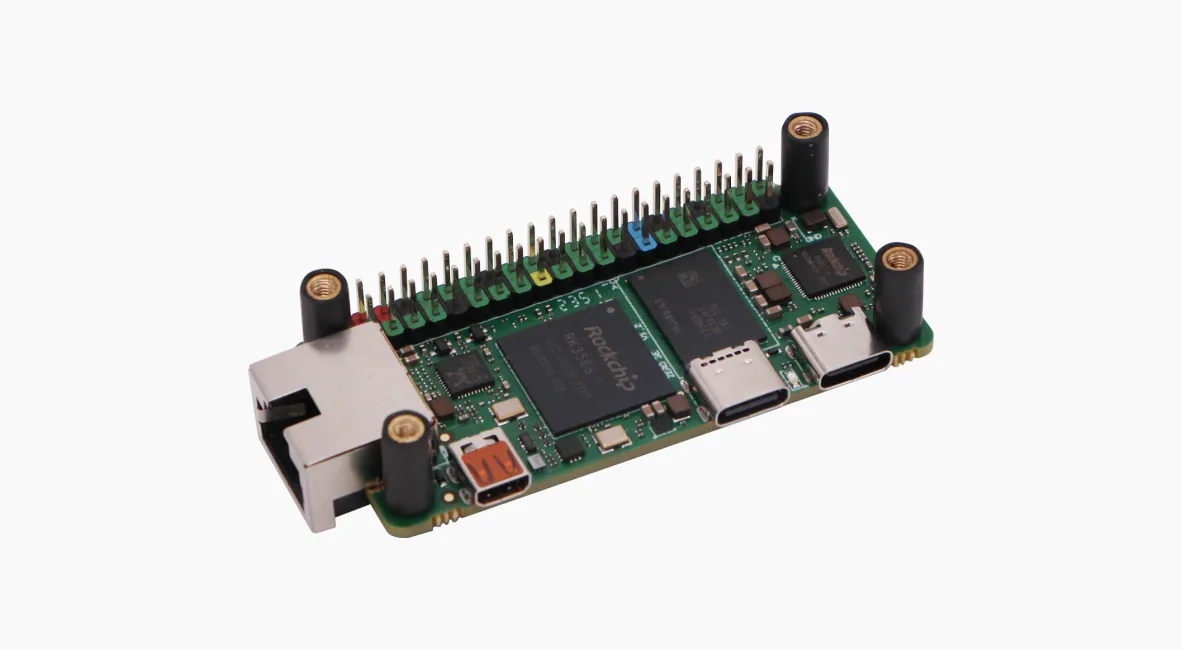
A Light, Compact and Tiny SBC


